Setup and content#
How to run the tutorial#
Execute with a Binder deployment#
Binder is a cloud service that allows users to share reproducible interactive computing environments from code repositories. It is generally used to enable other users to easily run your code through Jupyter notebooks. It is a really cool service offered for free by several organisations (MyBinder through Jupyter, etc.).
Binder is probably the easiest way to execute notebooks in this repository, as you only have to do one click to arrive in a Jupyterlab with all the necessary libraries. However, its public resources are limited, supporting only some ‘tens’ (less than 30) of instances at a time with restricted processing power. The primary purpose of this functionality here; is to demonstrate the plug-and-play nature of geo3D.
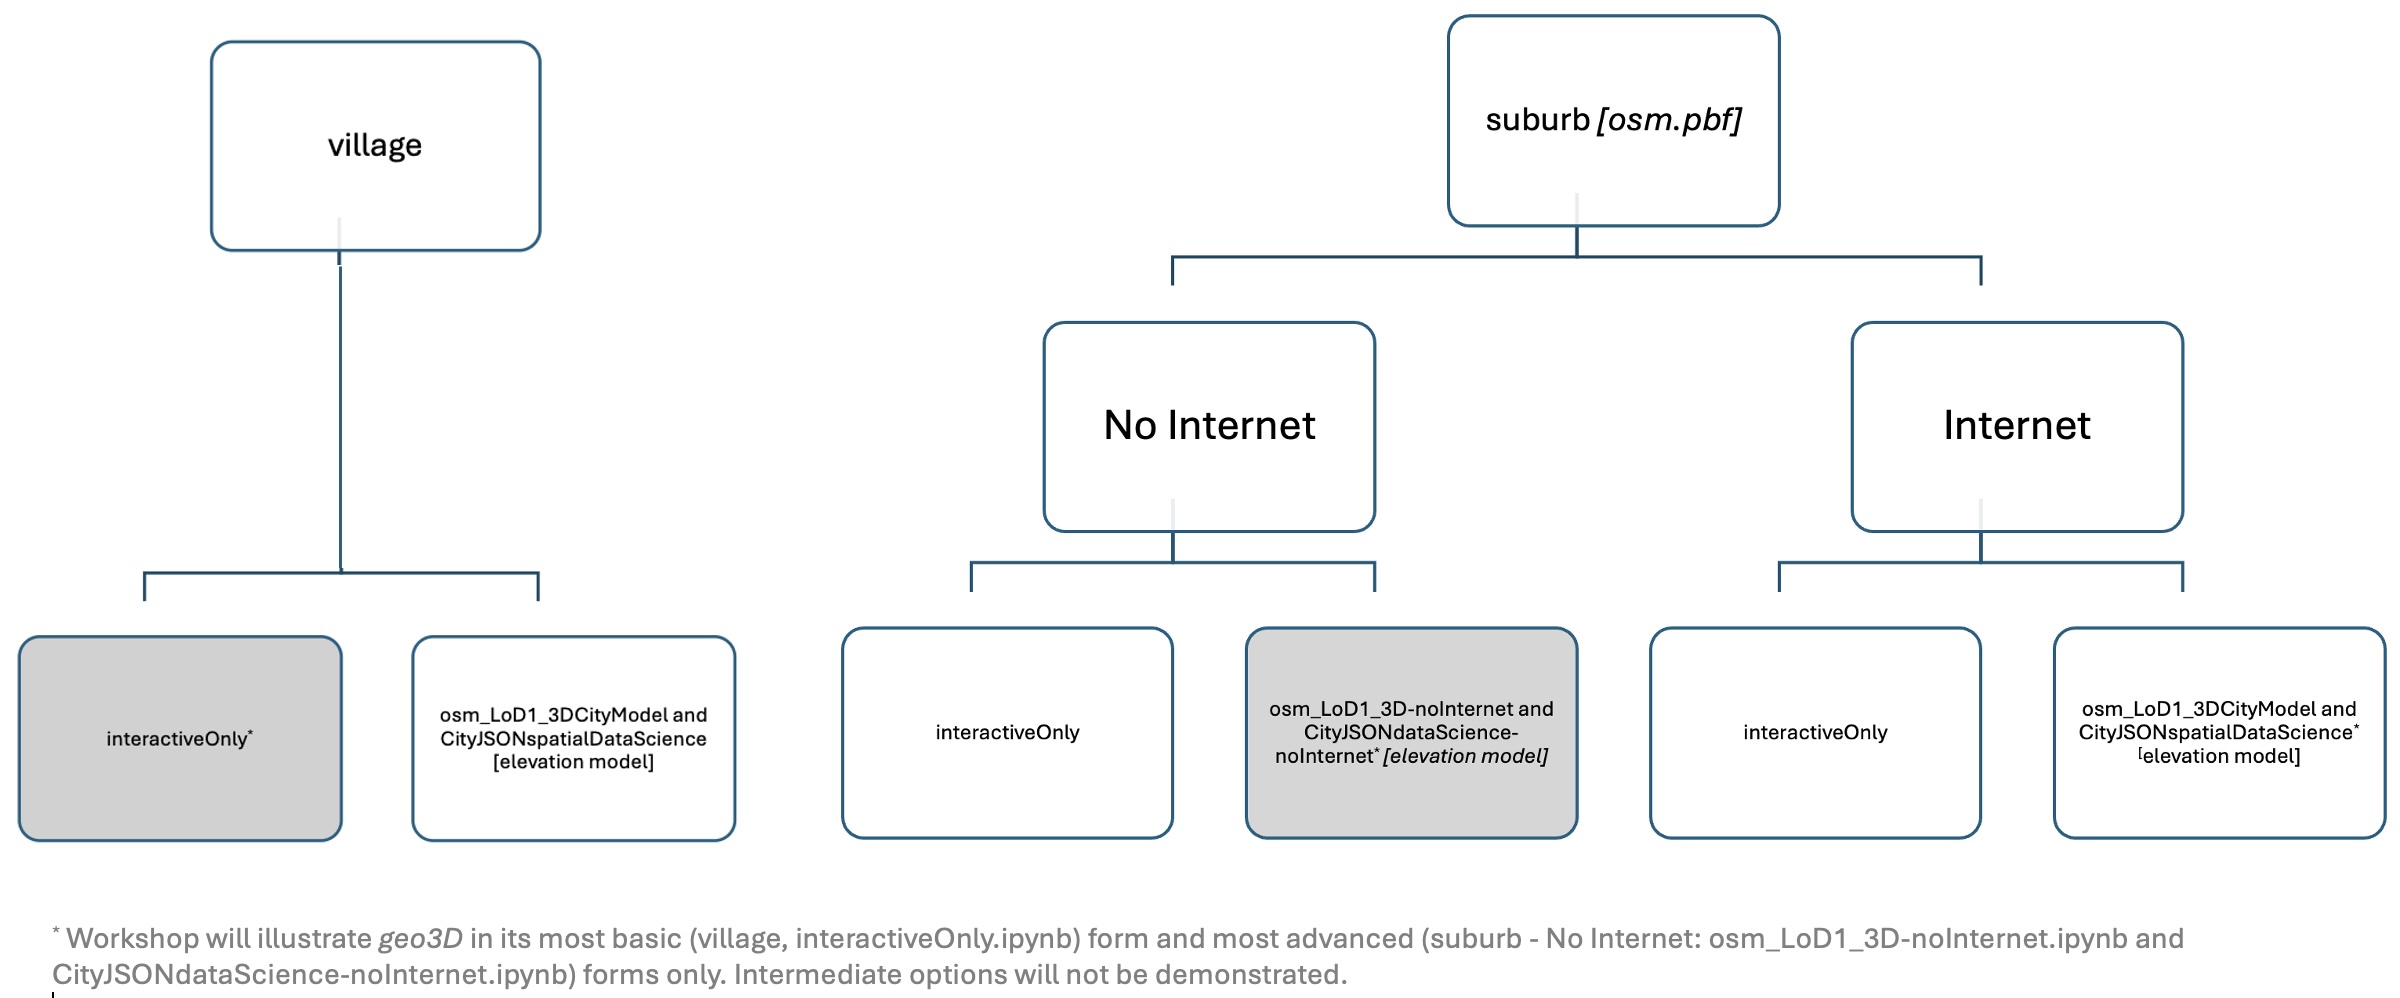
Each Notebook in the village and suburbs sections (interactiveOnly, LoD1_3D_CityModel and CityJSONSpatialDataScience) have a Binder icon, from which to launch the that particular notebook on the Binder service.
Alternatively, to launch the entire geo3D_wrkshp GitHub repository; click on the launch Binder icon below:

Thereafter; navigate and choose a notebook, using the file browser, on the left side of the Jupyterlab screen.
Execute on your own computer#
All parts of this tutorial were designed to run with limited computer resources, so it is possible to run on your laptop. It is not an easy ‘one-click-push-button’ solution. You will have to install the software environment yourself.
The 4 steps to run this tutorial on your own computer are listed below and demonstrated through Linux commands only:
#- i. git clone the geo3D_wrkshp repository
git clone https://github.com/adriankriger/geo3D_wrkshp.git you/might/want/to/indicate/a/specific/path/to/clone/into
cd /into/the/specific/path ... if included above
Install the required software environment with Mini / Anaconda. If you have neither; a lightweight Miniconda installation might be better than the preconfigured Anaconda. Miniconda install instructions can be found (here). Then create the environment, this may take several minutes.
#- ii. create geo3D_wrkshp environment
conda env create -n geo3D_wrkshp -f environment.yml
Launch a Jupyterlab notebook server from the geo3D_wrkshp environment.
#- iii. activate geo3D_wrkshp environment
conda activate geo3D_wrkshp
#- iv. launch jupyter lab
jupyter lab
Open a web browser and connect to the Jupyterlab provided URL (you should see it in the jupyter lab command outputs), something like: http://localhost:8888/lab?token=42fac6733c6854578b981bca3abf5152.
Navigate to geo3D_wrkshp/workshop/notebooks/ using the file browser on the left side of the Jupyterlab screen.
Tutorial content#